


Somewhere along the way, in my collectors' frenzy, I added two Scooby-Doo "models" to my collection.
These are snap-together models. For any reasonably coordinated child above the age of 8 or 9, they're basically "some assembly required" toys. They're not on sprues like normal plastic models, so there's nothing to cut. They're modelled in several colours of plastic, so there's no painting required either.
They come with 3 pre-painted figures each and the figures are articulated like action figures, if not quite so mobile. Again, these are more toys than models. I am used to building models that take a LOT more skill and time to build, so these were about as challenging as elementary school arithmetic.
They come like this:

It's truly odd that they chose to model the bi-plane in the same turquoise blue but instead of the lime green they went with an olive drab. The wood struts and landing gear would be okay if only they hadn't used RED on the engine cowl instead of the obvious choice of orange to match the Mystery Machine.
Being me, this meant there was something I had to fix. I like fixing stuff.

So I did this:

I spray painted most of the parts since you lose the brush strokes that way and it looks more like the plastic finish the "model" came with. The only hand paint was the two wheels as I couldn't mask them well with the tools I had on hand. Since I had to paint one piece orange, I decided to paint all the "wood" coloured pieces orange as well.


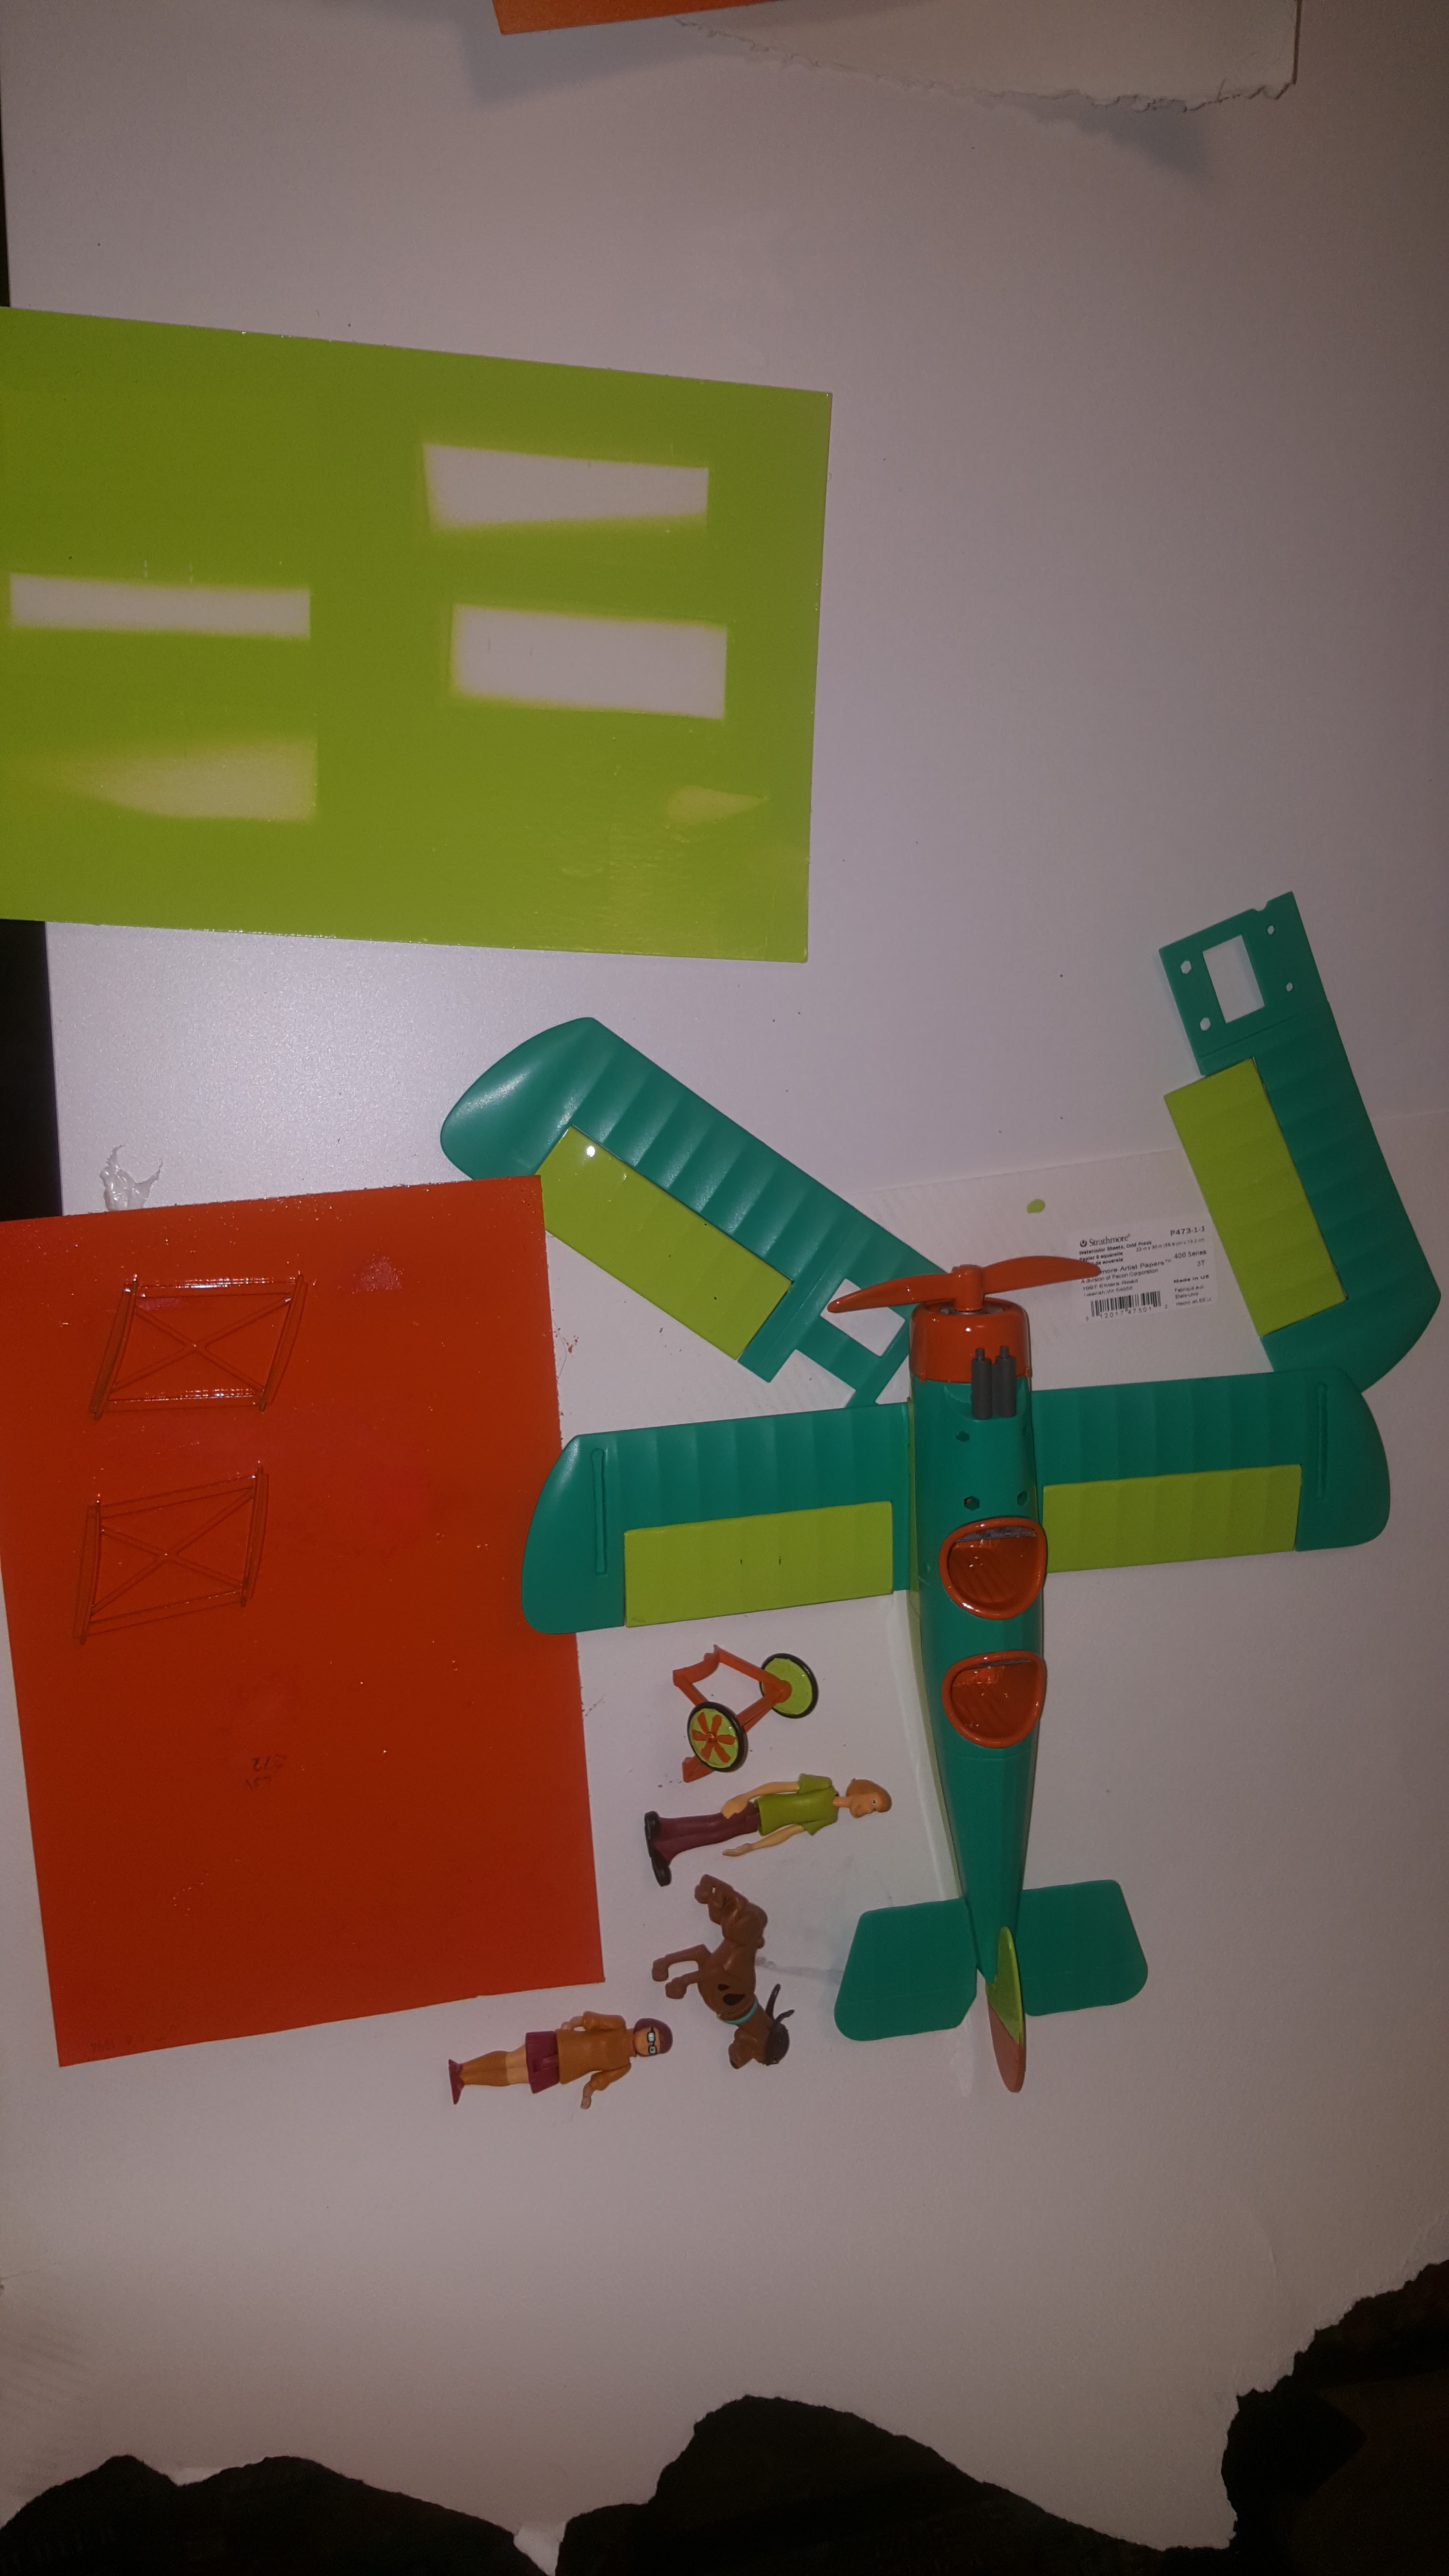

The only brush painting was done to the wheels, both the green and the little flowers.
The upper wing has an odd hole in the middle of it, so unlike the box, I decided that Velma would take the rear seat (I'd trust her as a pilot over Shaggy, any day!) and I now think of that odd little hole in the wing as the "Scooby Slot." Besides, getting stuck in the wing seems very, very Scooby.
The Mystery Machine was another story.
A much, much shorter story.


From start to finish, the assembly took 23 minutes, including applying the stickers.
You'll notice that the Scooby that came with the Mystery Machine isn't in the van. I'm going to try to paint him as Scooby-Dum since I already have a Scooby-Doo in the bi-plane.
If you don't see pictures up soon, it did not go well.

Stay tuned!


2 comments:
These look amazing, GB! Thanks for sharing the pics!
Thanks! I was happy with the paint work and they do look nice assembled.
Post a Comment